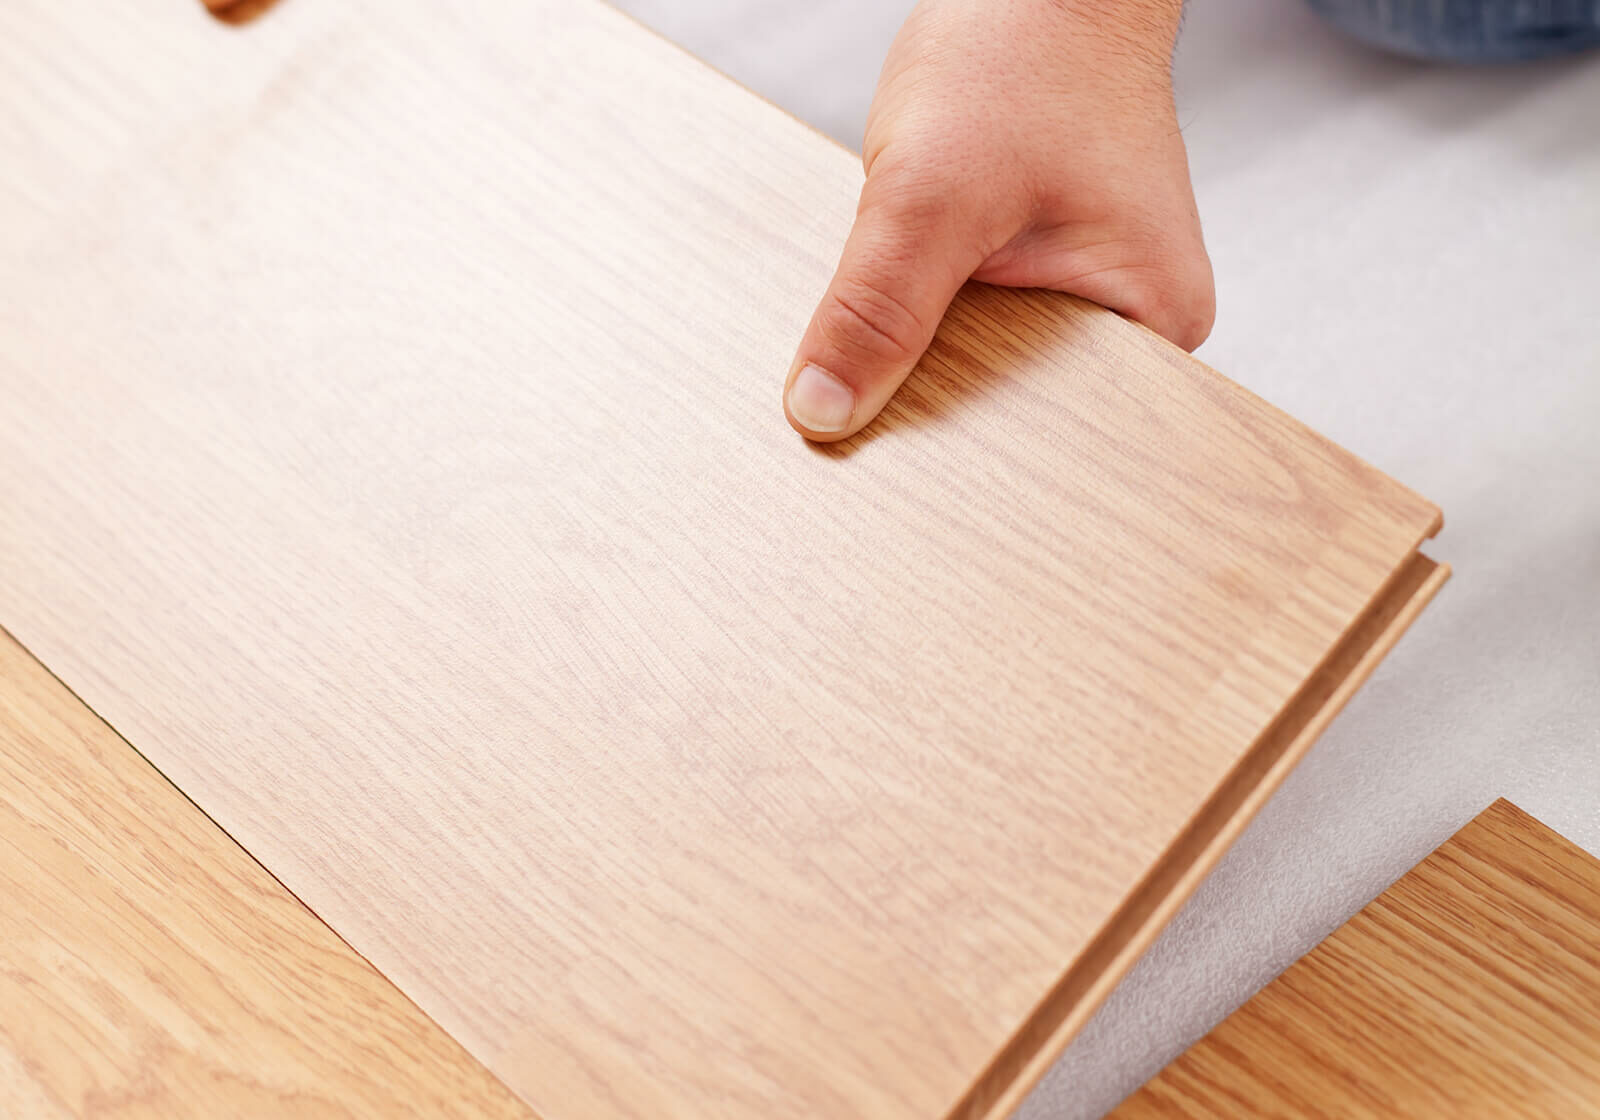
Before Laminate Installation
When your new laminate floors are installed, they may offer floating installation methods that don't require your old flooring to be removed! You will still need to remove all furniture, furnishings, and items from the room, wall, and closets. Allow at least 1-2 days before installation for the new laminate to be brought in and acclimate to the household temperature and humidity levels.


During Laminate Installation
It’s extremely important to be home during the days that laminate installation is taking place to answer questions for your installation crew. Keep kids and pets aways from the rooms receiving new laminate, as well as the area in your home designated for the installation crew. Your crew will need a space to keep their many tools and saws, cut laminate pieces to size, and make adjustments as needed.
After Laminate Installation
Check to see if your doors still have full range of motion with the new laminate height, especially if it's a floating floor, as you will need to have doors shaved down to swing properly. When returning furniture to the room, carefully bring items back in by lifting them, never dragging them across the floor, and using protectors on the feet of chairs, tables, and furniture.

Laminate Care
Now that you have new laminate floors installed, it’s time to keep your rooms looking stunning for as long as possible! The key to being ready for any mishaps that can occur at a moment’s notice is to know the proper laminate care steps for each situation. From preventative steps and proper regular care to stain removal procedures, it always helps to be prepared. Always refer to the manufacturer's warranty for care instructions.
Visualize your space
It’s never been easier to bring your incredible ideas to life!

